How To Winterize a Camper for RV Storage
Getting your camper or RV ready for winter is an important task, as cold weather can harm nearly everything, from pipes and water tanks to batteries and beyond. Thankfully, with our expert tips, you can learn how to properly winterize an RV for vehicle storage.
Why RV Winterization Is Important
Winterizing your RV helps shield it from the harm of cold weather and keeps it in good shape for your next trip.
Preventing Costly Problems
When the weather gets really cold, the water inside your camper or RV can freeze. This can cause big problems like broken pipes, cracked parts, and water damage. And with an RV being a big investment as it is, it’s important to avoid adding costs for RV maintenance and repair. But if you take time to winterize your RV, you can stop these issues from happening. It’s a smart way to keep your camper from harm and avoid spending a lot of money on repairs.
Maintaining Long-Term Value
Taking good care of your RV during the winter helps keep it in great shape for your next adventure. When you winterize your camper the right way, it stays clean and dry while it’s not in use, so everything works properly when you’re ready to travel again.
How To Winterize an RV or Camper
Follow these easy steps to winterize your camper or RV and maintain its good condition throughout the cold months.
1. Drain All Water Systems
Before you store your camper or RV for the winter, make sure to empty all the water tanks, including:
If water is left inside, it can freeze in cold temperatures, causing the tanks or pipes to crack.
2. Add RV Antifreeze
After draining the water, the next step is to add non-toxic RV antifreeze. Using non-toxic antifreeze is safe and recommended for your camper’s plumbing system when it comes to RV winterizing. All you have to do is pump it through all the pipes, faucets, drains, and traps, and it will make sure there’s no leftover water that could freeze.
3. Disconnect and Remove Batteries
Take the batteries out of your camper or RV before putting it into storage for the winter. Instead, store them separately in a dry place, like a climate-controlled storage unit, where the temperature stays the same and doesn’t get too hot or too cold. This will help the batteries last longer and work better when you’re ready to use your RV again.
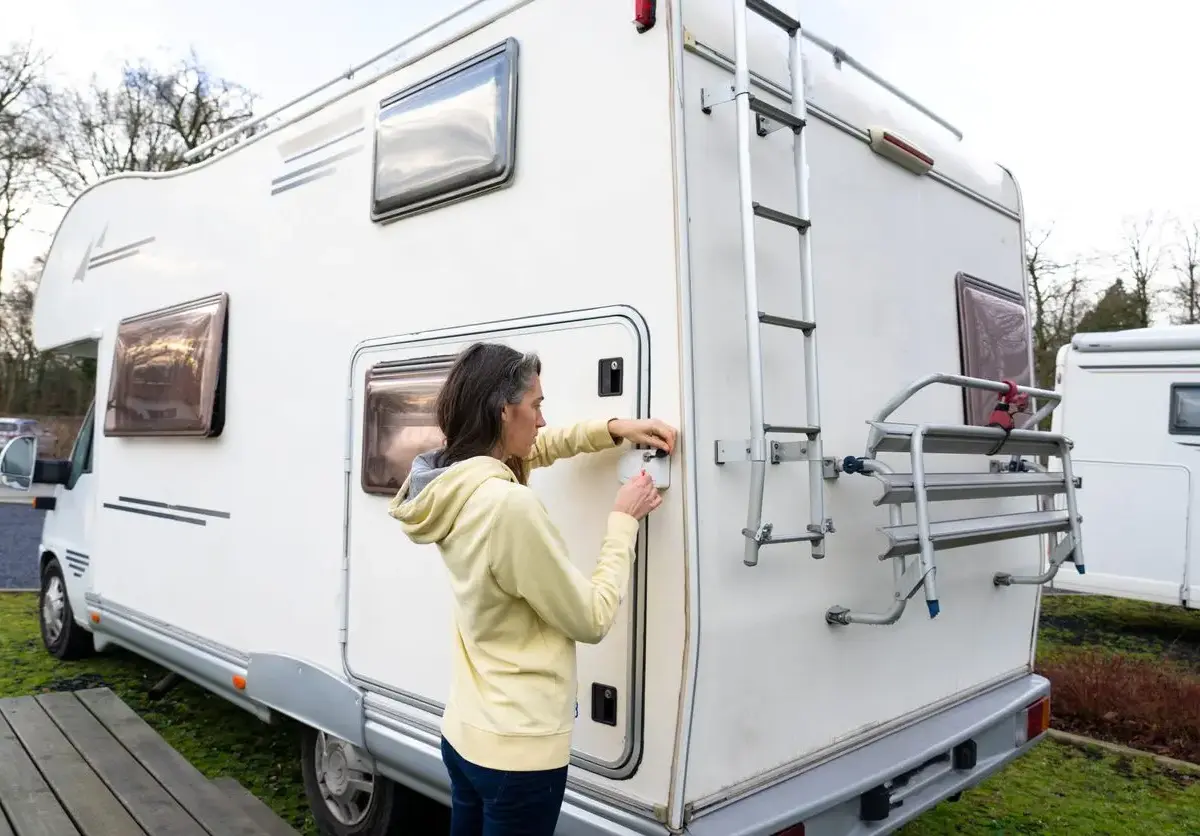
4. Seal Exterior Openings
Before putting your camper or RV into storage, make sure to close all the vents, windows, and any small openings. Doing this will keep out rain, snow, and damp air that could cause mold or mildew. It also prevents bugs and small animals from entering and causing a mess.
5. Clean and Cover the RV
Before storing your RV for the winter, take the time to give it a thorough cleaning, both inside and outside. Wipe down surfaces, remove any food, and vacuum the floors to keep the area fresh and neat. Also, don’t forget to wash the outside to remove any dirt, bugs, and road salt. If you’re not using covered RV storage, we recommend putting a breathable RV cover on your vehicle to let air circulate while still shielding your RV from snow, rain, and sun.
Find RV Storage in the PNW at Glacier West Self Storage
No matter what kind of storage you need, whether it’s indoor RV storage or outdoor boat and RV storage, Glacier West Self Storage can help. Our RV storage facilities will make your vehicle easily accessible and ready for your next trip, anytime of the year. Contact us online to rent or reserve your parking space today!